Beginner Guide to Choosing a Desk Lamp for Close-Up Botanical Drawing
Botanical drawing asks your eyes to do something unusual: to see a leaf as it actually is, rather than as you expect it to be. Your lamp either helps that happen or quietly works against you. Most people buy the brightest thing on the shelf, discover that their greens look grey and their pencil casts two shadows, then spend the evening pushing the lamp around the desk. Choosing well is not complicated, but it depends on four things the packaging rarely explains: colour rendering, reach, shadow behaviour, and placement.
Colour Rendering Comes Before Brightness
The most useful number on a lamp box is the colour rendering index, usually written CRI or Ra. It describes how faithfully a light shows colour compared with daylight, and higher is better. For botanical work, look for something in the nineties. A lamp rated around 90 or above keeps the difference between a warm yellow-green fern frond and a cooler blue-green one visible, which is precisely the sort of comparison your drawing depends on.
Cheaper lamps, especially older LED designs, can fall short at the red end of the spectrum, and that is exactly where the russets, browns and olive tones of stems, bark and dried material live. Under a poor lamp those tones collapse into a flat, dull grey. You will then mix a colour that looks right on the desk and wrong the next morning.
Colour temperature matters too, though it is more about comfort than accuracy. A neutral white in the region of 4000K is a sensible default: neutral enough not to tint your paper, warm enough to sit under for an hour. Very warm lamps bathe everything in yellow, and you will find yourself compensating with cooler colours that look wrong in daylight. Very cool lamps can feel clinical and push greens towards blue. If you draw beside a window, try to keep the lamp's character close to the daylight, otherwise you spend the session translating between two versions of the same leaf.
A practical test, if you can manage it: bring a fresh leaf and your own sketchbook to the shop. Hold both under the lamp and look for the colour you remember. If the leaf goes lifeless, walk away.
The Arm Matters More Than the Head
A lamp for close work has one job that ordinary desk lamps fail at: it must put light exactly where your hand is not. That means reach. The head should be able to sit above and slightly to the side of the paper without the base crowding your drawing board, and it should be able to point downwards at a steep angle rather than only forwards.
Two joint types dominate. Spring-balanced arms and friction joints both work; what separates them is whether they hold. When you try a lamp, push the head into the position you would really use and let go. A good arm stays where you left it. A weak one sags slowly, and you will notice that ten minutes into a session, when the light has drifted off the page.
If your desk is small, a clamp base that grips the table edge frees up more room than a heavy weighted foot, though it needs a surface thin enough to accept it. Check the maximum opening before buying, and check that the clamp will not mark a wooden desk.
Height matters as well. You want the head roughly a forearm's length above the paper, so the light arrives at an angle rather than straight down. Straight-down light flattens form; angled light describes it.
Learn to Read the Shadow
Shadows are not a nuisance to be eliminated. In drawing, the shadow is the information. A single, dominant light source gives you one clear set of them: a shadow on the plant that describes its volume, and a cast shadow on the paper that describes where it sits. Two lamps of equal strength give you two cast shadows in different directions. That confuses the eye and makes it much harder to judge the curl of a petal or the thickness of a stem.
So aim for one main light, and if you need to lift the darkest areas, a much weaker fill. A sheet of white card propped opposite the lamp makes a good fill because it bounces light without creating a second shadow line. A window can serve as fill too, but only if it is not competing as a second key light.
Hard shadows are useful for studying structure and edges. Softer shadows are kinder for long sessions and for delicate washes. You can move between the two with a diffuser: a piece of tracing paper or drafting film clipped over the shade, or a lamp that ships with one. Keep the diffuser a couple of centimetres clear of the bulb so nothing overheats.
Placement: The Part Nobody Mentions at the Shop
The classic placement for right-handed drawing is light coming over your left shoulder, at roughly forty-five degrees to the paper. Your hand then casts its shadow away from the work rather than across it. Left-handed artists should mirror this. It sounds trivial until you have spent an evening drawing through the shadow of your own hand, lifting the pencil every few strokes to check what you have actually done.
Position the head in front of you as well as to the side, so the light falls across the paper rather than from directly behind your shoulder. If the lamp is behind you, your body blocks it. If it is directly overhead, the shadow disappears and the form goes flat.
Then deal with glare. The bottom edge of the shade should sit below eye level so you are not looking into the bulb, and the light should not bounce off the paper into your eyes. Paper type makes a real difference here: smooth hot-pressed sheets reflect far more than rough watercolour paper, and a lamp that is comfortable on one can be blinding on the other. Tilt the head a little further forward, or add the diffuser.
Distance between head and paper is a control, not a fixed setting. Moving the lamp closer narrows the pool of light and strengthens the shadow. Moving it back widens the lit area and softens everything. For detailed work on a single leaf, a smaller, closer pool is easier on the eyes than a wide bright wash across the whole desk.
Small Features That Shape Daily Use
Once rendering, reach and shadow behaviour are settled, the rest is detail. These are the ones that make a difference after the first week.
- Dimming, ideally stepless. A lamp that is only on or off is too bright for a pale leaf and too dim for dark seed pods.
- A head that holds its angle. Test it over half a minute, not five seconds.
- Heat output. Halogen and older incandescent lamps run hot near your hand and dry out fresh plant material. Modern LEDs run cooler and are gentler on specimens you want to keep for a few days.
- Flicker. If you are sensitive to it, ask to see the lamp running and watch for a faint pulse at the edge of your vision. Some people find it tiring long before they can name the cause.
- A switch you can reach while seated, and a cable long enough to reach the socket without stretching across your drawing.
- A shade that shields the bulb but still lets you aim it. Deep shades control spill; shallow ones are easier to angle.
A Setup to Copy This Week
You do not need to solve every variable at once. Set up one workable arrangement, draw in it for a few sessions, and let your own discomfort tell you what to change.
- Clear the desk so the drawing board sits with the lamp on your non-drawing side.
- Set the head about a forearm above the paper, angled down at roughly forty-five degrees.
- Place a single leaf on the paper and hold your pencil as if drawing. Look at the shadow: you want one, falling away from your hand.
- Adjust height, angle and distance until the light is even across the leaf, the shadow is clear, and nothing glares back at you from the paper.
- Draw for twenty minutes before judging the result. Note whether you are squinting, leaning in, or shifting position to escape your own shadow. Each of those points to a specific adjustment.
A good botanical lamp is rarely the brightest object in the room. It is the one you stop noticing, because the leaf in front of you looks the way it does outdoors and your hand is never in the way.
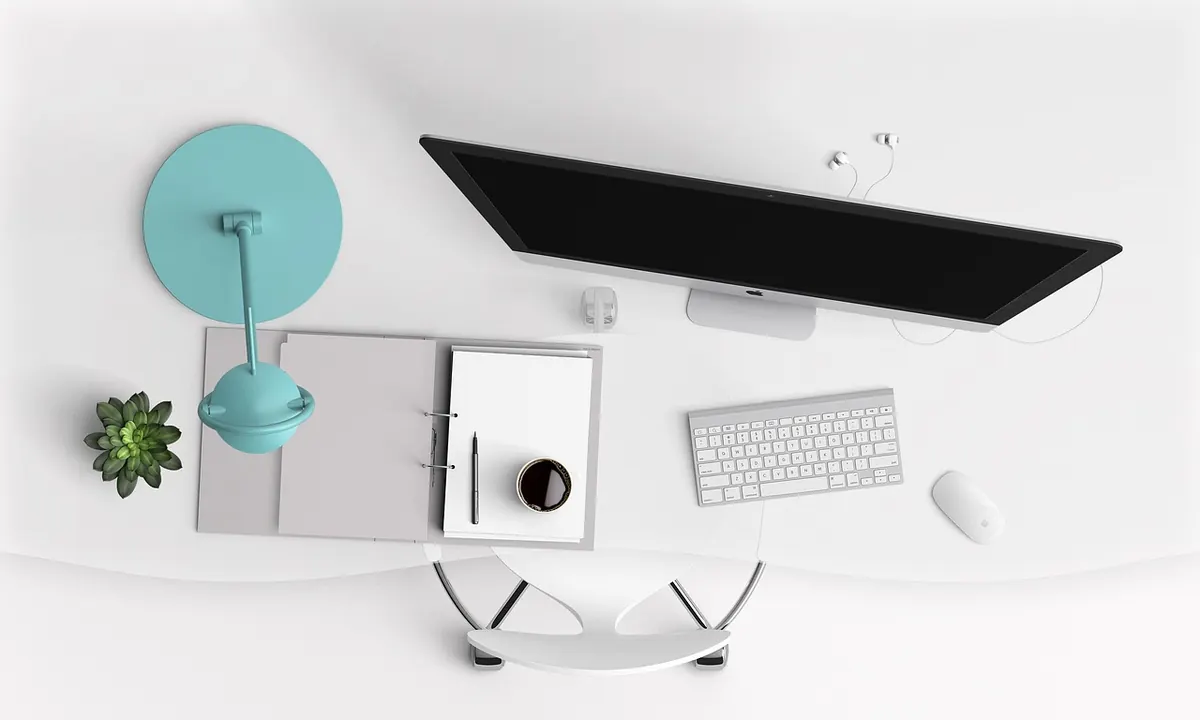
Photo: theglassdesk / Pixabay